Sobre GJF
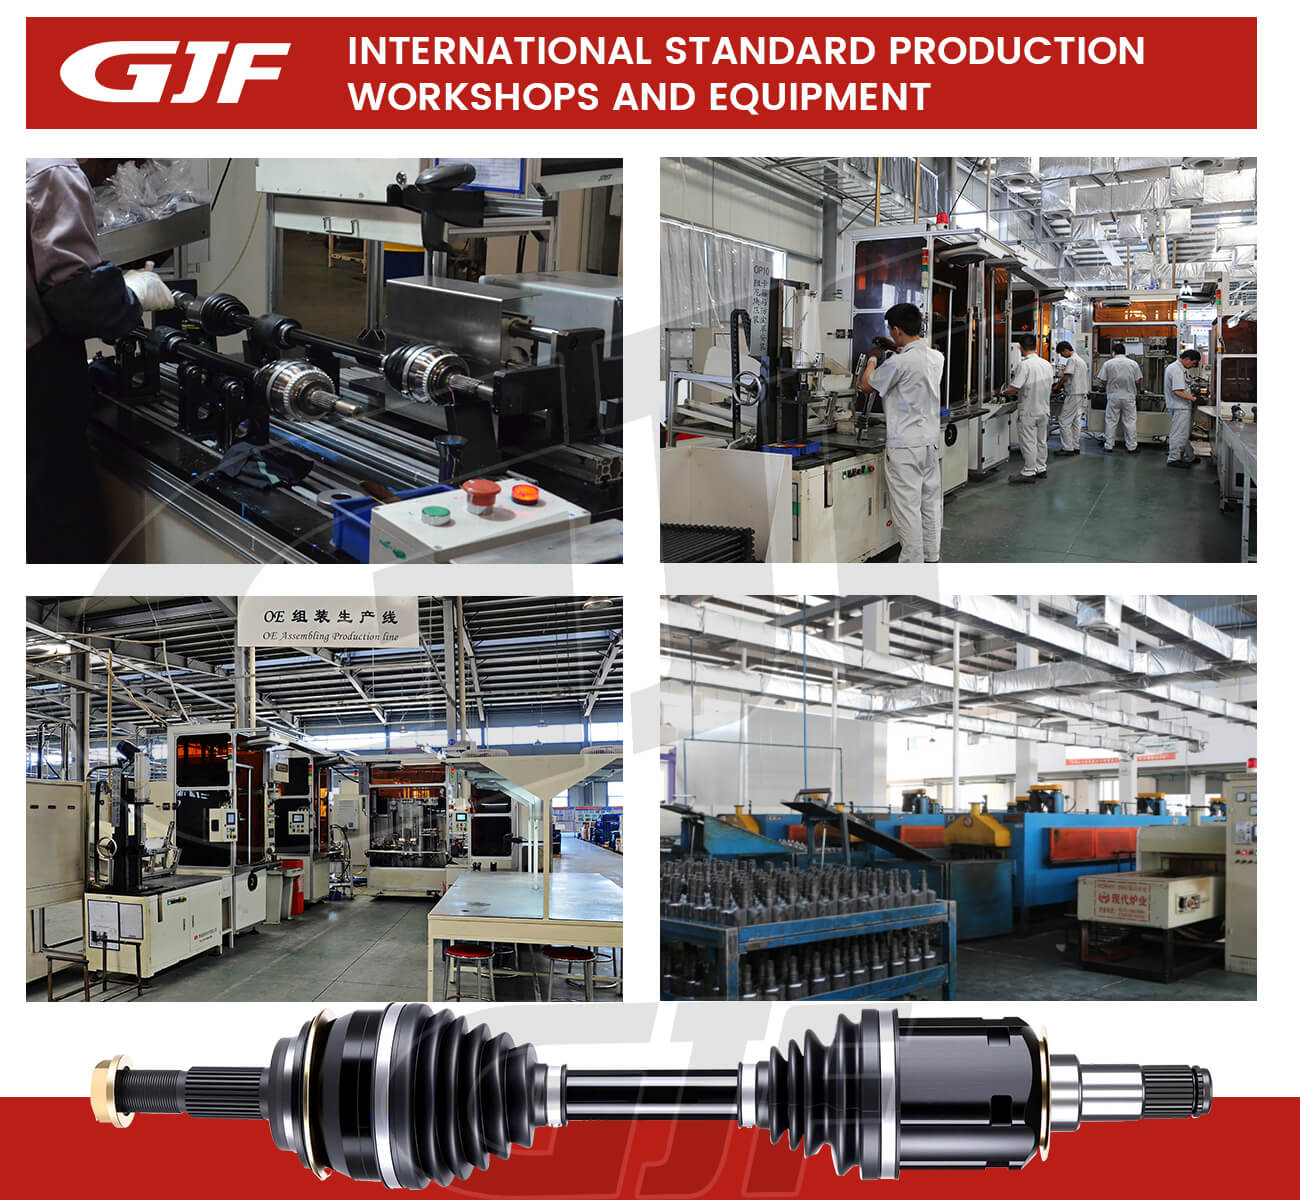
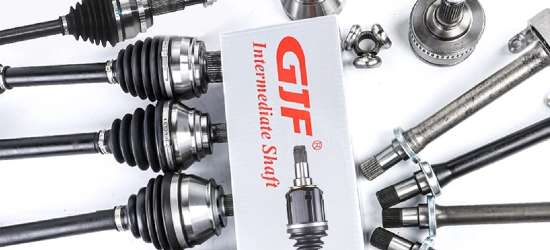
GJF se rige por la filosofía de cooperación basada en «integridad, innovación, altruismo y beneficio mutuo». Nos dedicamos de todo corazón a servir a nuestros clientes y nuestro objetivo es lograr situaciones de beneficio mutuo en el futuro mercado de recambios de automoción.
Obtener presupuesto gratis
Noticias
10
Sep
How To Put Inner Cv Joint Back Together - GJF
How to Put an Inner CV Joint Back Together: Step-by-Step Guide
Knowing how to put an inner CV joint back together is important when servicing a drive shaft, rebuilding a CV axle, or replacing worn drivetrain components. However, not all inner CV joints have the same internal design.
Common inner CV joint designs include ball-type inner CV joints and tripod-type inner CV joints. Their internal structures and assembly procedures are different, so identifying the correct joint type is the first step before reassembly.
In this guide, GJF explains the main types of inner CV joints, how they are generally reassembled, common mistakes to avoid, and when replacing the complete inner CV joint is a better option.
Note: CV joint designs and assembly procedures vary by vehicle and manufacturer. Always follow the applicable service specifications and use the correct replacement components.
What Is an Inner CV Joint?
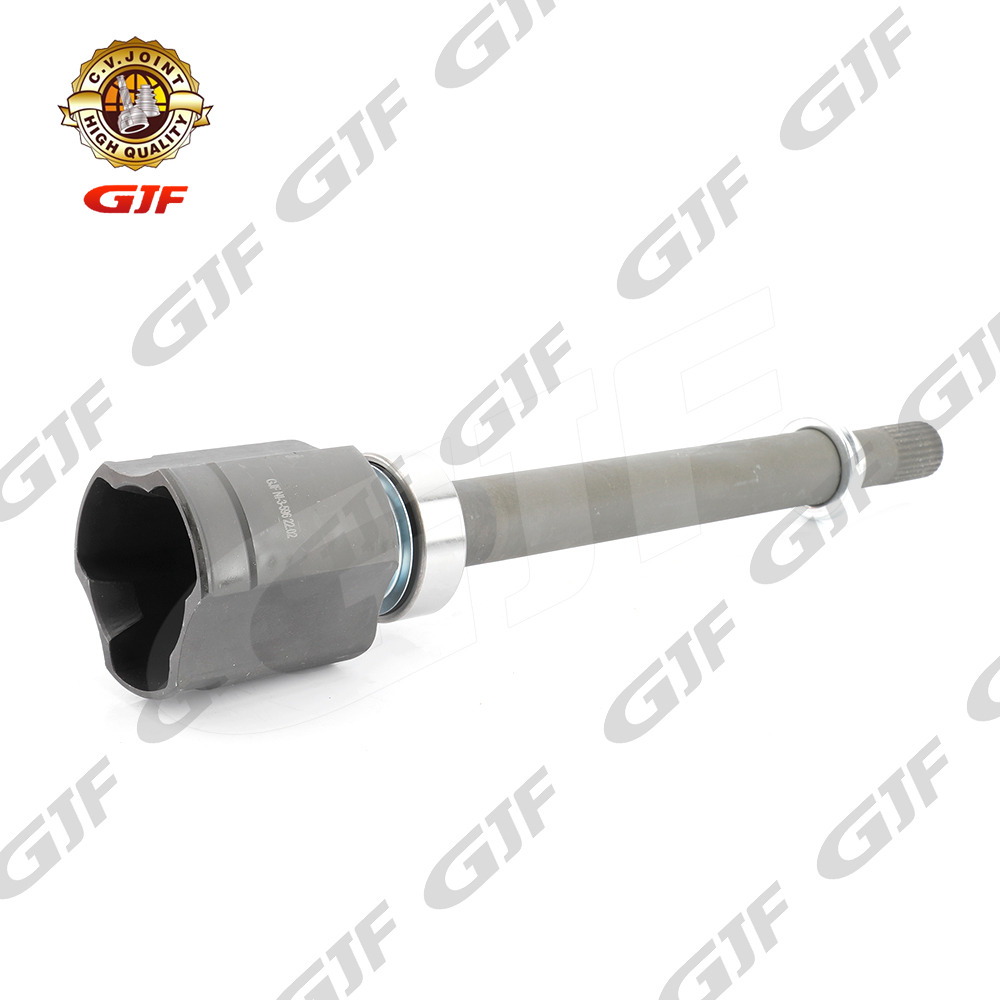
An inner CV joint, or inner constant velocity joint, connects the drive shaft to the transmission or differential side of the vehicle.
The inner joint is designed to transmit engine torque while allowing changes in the angle and length of the drive shaft as the suspension moves.
Compared with an outer CV joint, which primarily accommodates steering angles at the wheel side, an inner CV joint generally plays an important role in accommodating plunge movement and changes in the drivetrain angle.
A typical inner CV joint assembly may include:
- CV joint housing
- Inner race or tripod spider
- Cage and steel balls, depending on the design
- Roller bearings in tripod-type joints
- Drive shaft
- Retaining components
- CV joint boot
- CV joint grease
Because the internal structure differs between joint types, the correct reassembly procedure depends on the specific design.
Types of Inner CV Joints
Before learning how to reassemble an inner CV joint, it is important to identify which type you are working with.
1. Ball-Type Inner CV Joint
A ball-type inner CV joint uses steel balls positioned between the inner race, cage, and outer housing.
Its main components typically include:
- Inner race
- CV joint cage
- Steel balls
- Outer housing
- Retaining ring
- Drive shaft
- CV boot
- CV joint grease
The balls run along specially designed tracks to transmit torque while allowing the joint to articulate.
The exact construction can vary between applications, so component orientation is important during reassembly.
2. Tripod-Type Inner CV Joint
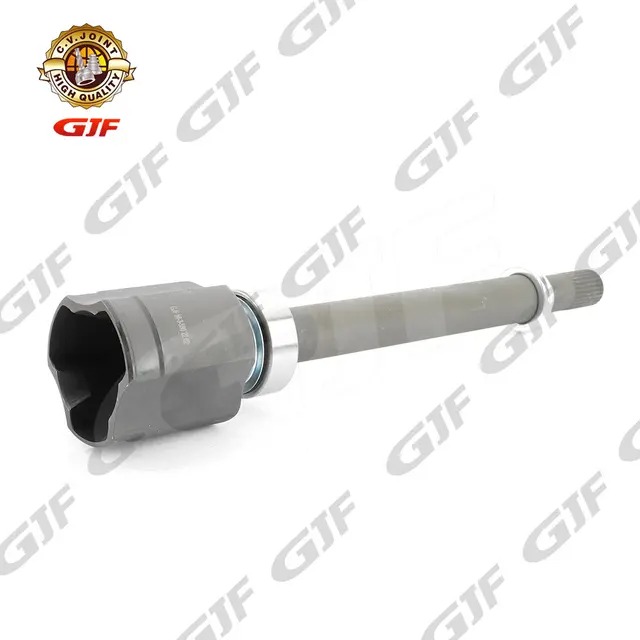
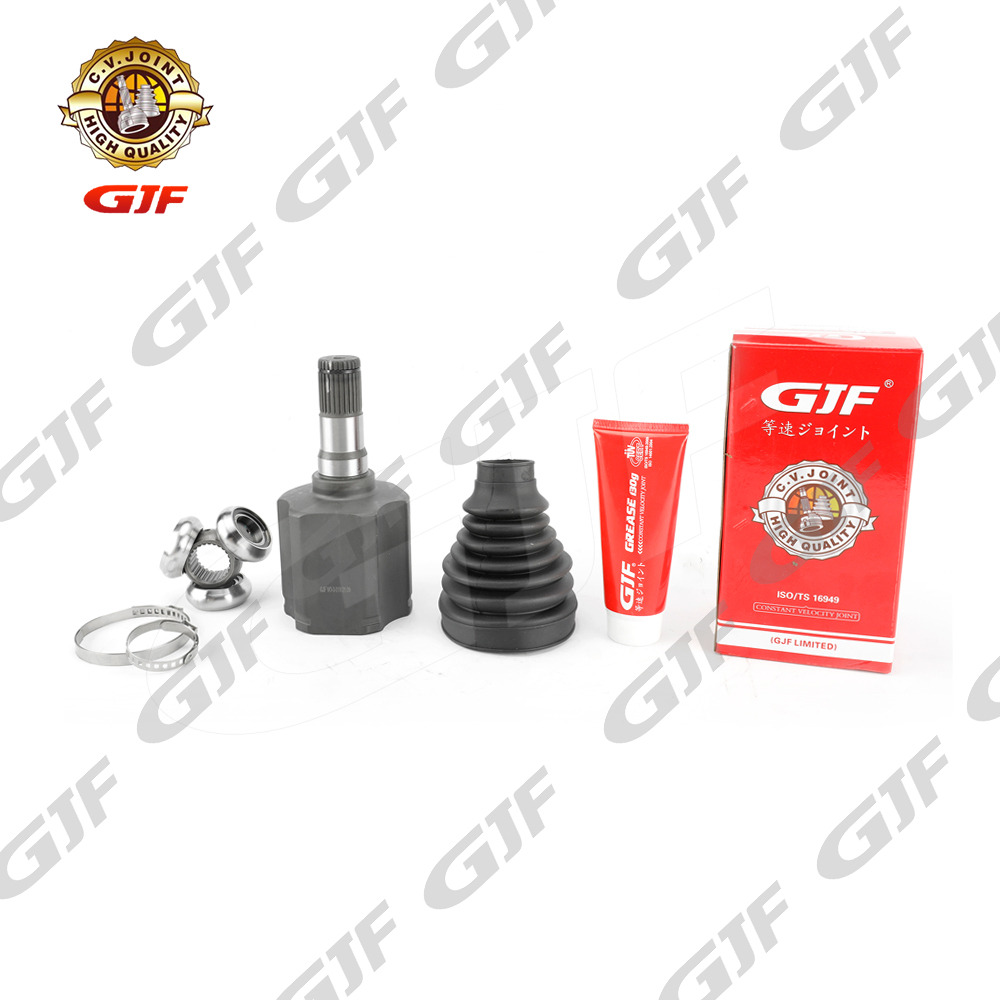
A tripod CV joint, also called a tripod-type inner CV joint, uses a three-lobed tripod spider and roller bearings.
Instead of the ball-and-cage arrangement found in a ball-type joint, the tripod design typically consists of:
- Tripod spider
- Three roller-bearing assemblies
- Tripod housing
- Drive shaft
- Retaining components
- CV boot
- CV joint grease
Tripod-type inner CV joints are widely used on the transmission side of drive shafts because their design can accommodate axial movement, or plunge, as the suspension moves.
The assembly procedure for a tripod joint is therefore different from that of a ball-type inner CV joint.
How to Put a Ball-Type Inner CV Joint Back Together
If you are working with a ball-type inner CV joint, follow the general assembly sequence below.
Step 1: Clean and Inspect the Components
Before reassembly, remove old grease and thoroughly clean the inner race, cage, balls, and housing.
Inspect the components for:
- Deep scoring
- Pitting
- Cracks
- Corrosion
- Deformation
- Excessive wear
The steel balls should have smooth contact surfaces, and the race and housing tracks should not show severe damage.
If multiple internal components are significantly worn, replacing the complete inner CV joint is usually more reliable than rebuilding it with damaged parts.
Step 2: Check the Component Orientation
Correct orientation is one of the most important parts of ball-type CV joint assembly.
Inspect the inner race and cage for chamfers, offsets, grooves, or other features that indicate their correct position.
If the joint was disassembled during inspection, compare the components with the manufacturer's specifications or the original assembly position.
Never force a component into place if it does not align naturally.
Step 3: Install the Inner Race and Cage
Position the inner race inside the cage according to the correct orientation.
Rotate or tilt the inner race until the ball tracks are properly aligned with the cage openings.
The inner race should move smoothly inside the cage. If it binds or does not align correctly, check the orientation before continuing.
Step 4: Install the Steel Balls
Install the steel balls into the tracks between the inner race and cage.
Depending on the joint design, the cage may need to be tilted slightly to create enough clearance for installation.
Make sure every ball is fully seated in its corresponding track.
After installation, carefully rotate the inner race to check that the assembly moves smoothly.
Step 5: Install the Assembly Into the Housing
Position the assembled inner race, cage, and balls inside the outer housing.
Align the ball tracks with the corresponding tracks in the housing.
Do not use excessive force. If the assembly does not fit correctly, remove it and check the orientation of the cage and inner race.
Step 6: Install the Retaining Components
Depending on the joint design, a retaining ring, snap ring, or circlip may be used to secure the joint to the drive shaft.
Make sure the retaining component is fully seated in its correct groove.
An improperly installed retaining ring can allow unwanted movement or separation during operation.
Step 7: Apply the Correct CV Joint Grease
Apply the specified CV joint grease to the internal contact surfaces.
CV joint grease is formulated to withstand the high loads, pressure, and temperature associated with constant velocity joints.
Use the correct type and quantity of grease specified for the application.
Avoid introducing dirt or other contaminants during lubrication.
Step 8: Install the Inner CV Boot
Position the CV boot over the joint housing and drive shaft.
The boot should not be twisted, excessively stretched, or incorrectly folded.
Secure it with the appropriate clamps.
The CV boot protects the joint from water, dirt, and road debris while keeping the grease inside.
Step 9: Check Joint Movement
Before installing the drive shaft on the vehicle, manually check the joint movement.
The joint should move smoothly without:
- Binding
- Abnormal noise
- Excessive play
- Uneven movement
Also check that the CV boot remains correctly positioned throughout the joint's movement.
How to Reassemble a Tripod-Type Inner CV Joint
The assembly process for a tripod CV joint is different from a ball-type joint because it uses a tripod spider and roller-bearing assemblies.
Step 1: Clean and Inspect the Tripod Components
Remove old grease and clean the tripod housing, spider, and roller-bearing components.
Inspect the roller surfaces, tripod trunnions, housing tracks, and retaining components.
Look for:
- Pitting
- Scoring
- Excessive wear
- Corrosion
- Damaged rollers
- Cracks or deformation
Replace damaged components before reassembly.
Step 2: Inspect the Tripod Roller Bearings
Check each roller-bearing assembly for smooth rotation and abnormal play.
The rollers should move freely without roughness or visible damage.
If a roller bearing is worn or damaged, replacing it is important for proper joint performance.
Step 3: Position the Tripod Spider
Install the tripod spider onto the drive shaft according to the correct orientation.
The three trunnions should be correctly positioned relative to the shaft and the tripod housing.
Depending on the specific design, a retaining ring or other component may be used to secure the tripod assembly to the shaft.
Step 4: Install the Tripod Assembly Into the Housing
Carefully position the tripod spider and roller bearings inside the tripod housing.
Each roller-bearing assembly should align correctly with its corresponding track inside the housing.
Do not force the assembly into the housing. If the tripod does not seat correctly, check the orientation and bearing position.
Step 5: Apply the Recommended CV Joint Grease
Apply the appropriate CV joint grease to the roller-bearing surfaces and housing according to the manufacturer's requirements.
Proper lubrication reduces friction and helps protect the joint from wear under high loads.
Use the specified grease rather than a general-purpose lubricant.
Step 6: Install the CV Boot
Position the inner CV boot over the tripod housing and drive shaft.
Make sure the boot is not twisted or excessively stretched.
Secure both ends with the correct clamps and check that the boot can accommodate the joint's plunge movement.
Step 7: Check Plunge and Joint Movement
After assembly, move the joint through its intended range.
For a tripod-type inner CV joint, pay particular attention to plunge movement.
Check that:
- The tripod moves smoothly
- The roller bearings move correctly
- There is no abnormal binding
- The boot does not become twisted
- There is no excessive play
- Grease remains properly contained
Common Inner CV Joint Assembly Mistakes
Whether you are reassembling a ball-type or tripod-type inner CV joint, several mistakes can reduce service life.
Using the Wrong Assembly Procedure
Ball-type and tripod-type inner CV joints have different internal structures. Do not apply a ball-and-cage assembly procedure to a tripod joint.
Installing Components in the Wrong Orientation
Incorrect orientation can cause poor movement, abnormal wear, vibration, or premature joint failure.
Reusing Severely Worn Components
If the race, cage, balls, tripod rollers, spider, or housing is significantly damaged, rebuilding the joint may not be worthwhile.
Using the Wrong Grease
Use grease specifically designed for CV joint applications and suitable for the required load and temperature conditions.
Installing a Damaged CV Boot
A torn or hardened boot can allow grease to escape and contaminants to enter the joint.
Contaminating the Joint
Keep the work area and components clean. Dirt and metal particles can accelerate wear on highly loaded contact surfaces.
When Should You Replace an Inner CV Joint?
Reassembly is not always the best repair option.
Consider replacing the complete inner CV joint assembly if you find:
- Excessive joint play
- Deep scoring or pitting
- Damaged steel balls
- Worn cage or inner race
- Damaged tripod rollers
- Worn tripod spider
- Cracked or damaged housing
- Severe corrosion
- Repeated vibration or abnormal noise
When multiple components are worn, a complete replacement can provide more consistent performance and simplify the repair process.
How to Choose the Right Inner CV Joint
When replacing an inner CV joint, correct application matching is essential.
Before ordering, check:
- Vehicle make and model
- Model year
- Engine
- Drive configuration
- OEM or reference number
- Spline count
- Joint dimensions
- Shaft specifications
- Left or right application where applicable
For distributors and wholesalers, choosing an inner CV joint supplier with broad vehicle coverage can make product matching and inventory management easier.
GJF Inner CV Joint Solutions
GJF provides inner CV joints and drivetrain components for a wide range of automotive applications.
Our drivetrain product range includes:
- Inner CV Joints
- Outer CV Joints
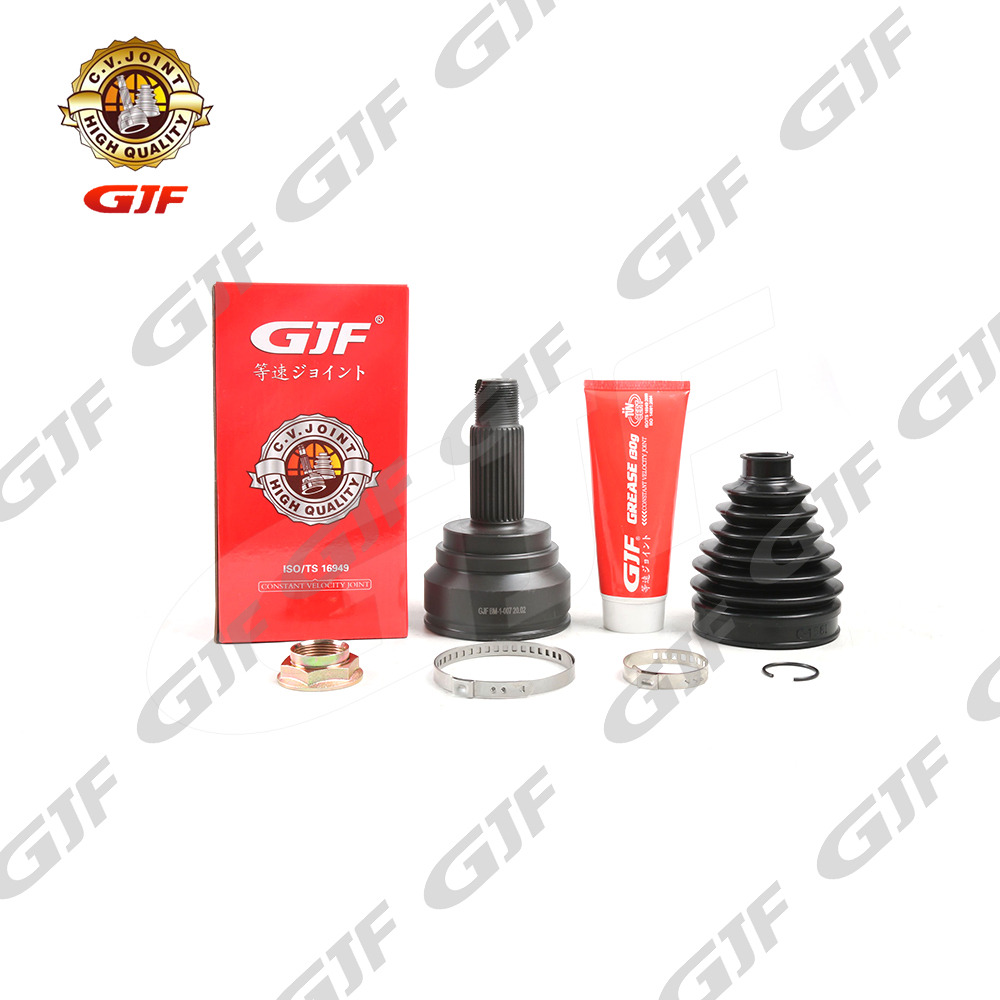
- CV Joint Kits
- CV Joint Boots
- Drive Shafts
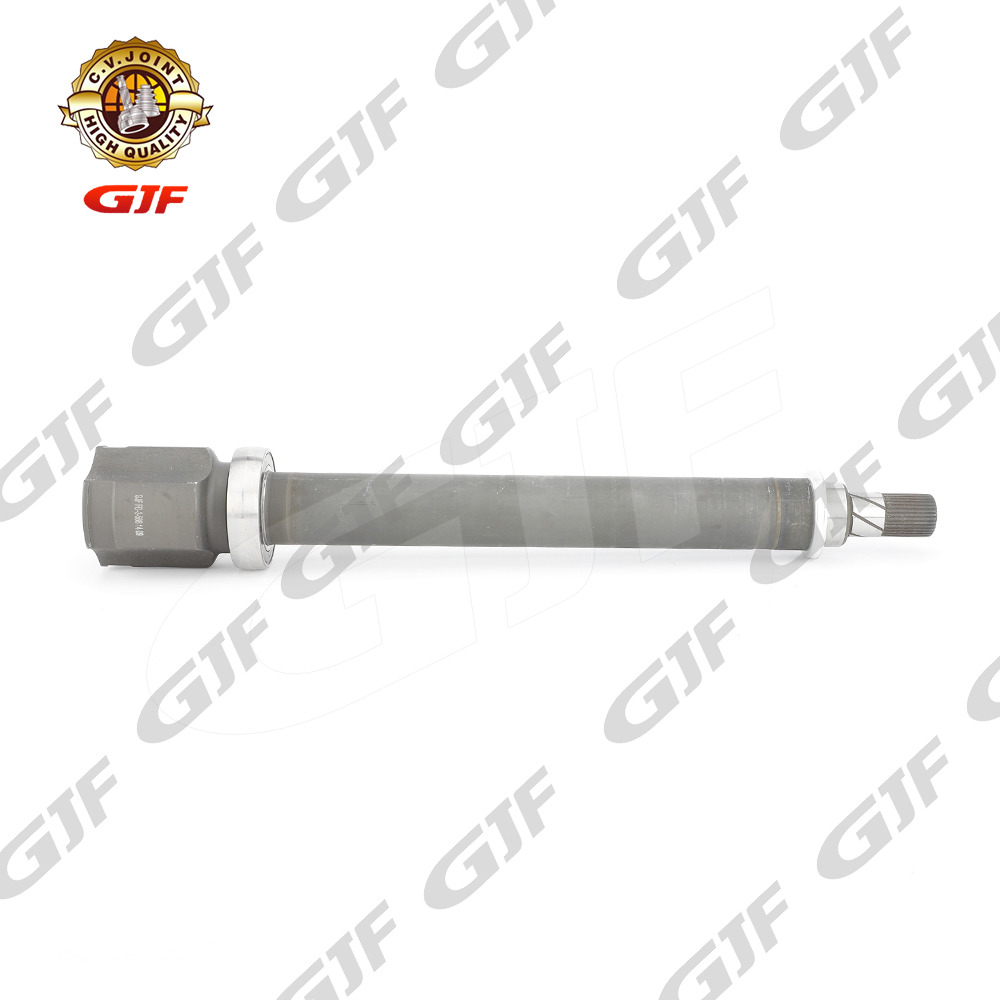
- Intermediate Shafts
- Wheel Hub Bearings
GJF focuses on precise fitment, durable materials, and consistent manufacturing quality to provide reliable aftermarket drivetrain solutions for distributors, importers, wholesalers, and automotive parts businesses.
Whether you need ball-type inner CV joints, tripod-type inner CV joints, or other CV joint components, GJF can provide application-based product solutions for different vehicle models.
Looking for an inner CV joint supplier for a specific application? Contact GJF to check product availability and application matching.
Frequently Asked Questions
Can you put an inner CV joint back together?
Yes. An inner CV joint can generally be cleaned, inspected, and reassembled when its components remain in good condition. The correct procedure depends on whether the joint uses a ball-type or tripod-type design.
What are the different types of inner CV joints?
Common designs include ball-type inner CV joints and tripod-type inner CV joints. Ball-type joints use steel balls, an inner race, and a cage, while tripod joints use a three-lobed tripod spider with roller-bearing assemblies.
How do you reassemble a tripod CV joint?
A tripod CV joint is generally reassembled by inspecting the tripod and roller bearings, positioning the tripod spider on the shaft, installing the assembly into the housing, applying the specified grease, and securing the CV boot. The exact procedure varies by design.
What grease should be used for an inner CV joint?
Use grease specifically designed for CV joint applications and follow the manufacturer's recommended specification. The correct grease should be suitable for the joint's operating load and temperature.
When should an inner CV joint be replaced?
Replace the joint when the internal components show significant wear, pitting, cracks, deformation, excessive play, or other damage. If several components are worn, replacing the complete joint is generally preferable to rebuilding it.
Final Thoughts
Learning how to put an inner CV joint back together requires more than simply reinstalling the components. The first step is identifying the correct joint design, because ball-type and tripod-type inner CV joints use different internal structures and assembly methods.
Clean components, correct orientation, proper lubrication, secure boot installation, and careful movement checks are essential for reliable CV joint performance.
When internal components are significantly worn or damaged, replacing the complete inner CV joint can be a more dependable solution.
For distributors, importers, and automotive parts businesses looking for inner CV joints, tripod CV joints, CV joint kits, CV boots, and complete drive shaft solutions, GJF provides a broad range of aftermarket drivetrain products.
Need an inner CV joint for a specific vehicle application? Contact GJF to check the available solution.
Etiquetas :
Publicaciones recientes