Sobre GJF
GJF adheres to the cooperation philosophy of "integrity, innovation, altruism, and win-win."We wholeheartedly serve and aim to achieve win-win situations in the future automotive aftermarket.
Obtener presupuesto gratis
Noticias
31
Mar
Step by Step CV Joint Installation for Beginners - GJF Auto Parts
That rhythmic, clicking sound your car makes on tight turns is more than an annoyance; it's a clear signal from your drivetrain. The constant velocity (CV) joint is a critical component that transfers torque from your transmission to the wheels, allowing them to turn and absorb bumps. Tackling a CV joint replacement yourself can save you hundreds in labor costs, but it's a job where precision is paramount. This guide is designed for the ambitious beginner, providing a clear roadmap to navigate this essential repair. We will walk you through everything from diagnosing the failure and sourcing the correct parts to the step-by-step installation and crucial final checks. You will learn the difference between a simple boot repair and a full assembly replacement, ensuring you do the job right the first time for a safe, reliable outcome.
Key Takeaways
Safety First: Proper vehicle support (jack stands) is non-negotiable.
Precision Matters: Torque specifications are the difference between a successful repair and a catastrophic failure.
Part Selection: Identifying the specific requirements for regional imports, including CV joints for Korean cars and Chinese cars.
Tool Readiness: Having specialized tools like an axle nut socket and torque wrench before starting.

Diagnostic Framework: When to Replace Your Car CV Joint
Before you pick up a wrench, you must be certain that the CV joint is the source of your vehicle's problem. A misdiagnosis can lead to wasted time and money on a part that didn't need replacing. Fortunately, a failing CV joint provides several distinct clues.
Identifying Failure Symptoms
The most common signs of a worn or damaged CV joint are auditory and sensory. Listen and feel for these specific indicators:
Clicking or Popping Noise During Turns: This is the classic symptom of a failing outer CV joint. The sound is most pronounced during slow, sharp turns, like pulling into a parking space. It's caused by excessive play in the worn ball-and-cage assembly inside the joint.
Vibrations at Higher Speeds: A worn inner CV joint, which connects the axle to the transmission, often causes a shudder or vibration during acceleration or at highway speeds. This can feel similar to an unbalanced tire, but it's directly related to applying power.
Grease on the Inside of Your Wheel: The CV joint is packed with a special high-temperature grease and sealed by a flexible rubber boot. If this boot tears, grease will be slung outward by centrifugal force, splattering the inner face of your wheel and nearby suspension components. This is a visual red flag that the joint's lubrication is compromised.
The Repair vs. Replace Decision
If you catch a torn boot early before any noise or vibration begins, you might be tempted to simply replace the boot and repack the joint with fresh grease. From a Total Cost of Ownership (TCO) perspective, this seems cheaper. However, this is rarely the best long-term solution. Once the boot is compromised, dirt, water, and road grit contaminate the grease. This abrasive mixture quickly wears down the precision-machined internal components. Replacing only the boot on a contaminated joint is a temporary fix at best; the failure of the joint itself is almost inevitable. For this reason, if you hear clicking or feel vibrations, the only reliable repair is a full replacement of the Car CV Joint assembly.
Success Criteria
A successful diagnosis hinges on one key factor: has contamination occurred? If you see a torn boot and hear clicking, the joint's internal housing is likely scored and damaged. Grit has entered the system, and no amount of new grease will fix the physical wear. A full replacement is the only path to a successful, long-lasting repair.
Risk Assessment
Ignoring a failing CV joint is not an option. What starts as an annoying click can escalate into a catastrophic failure. The joint can seize or break apart completely, causing the axle to snap. This results in an immediate and total loss of power to that wheel. If this happens at speed, it can lead to a dangerous loss of vehicle control. Promptly addressing the issue is a matter of safety, not just mechanical maintenance.
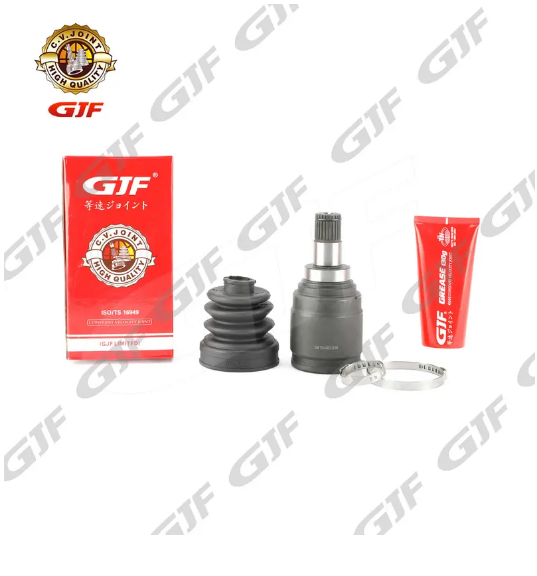
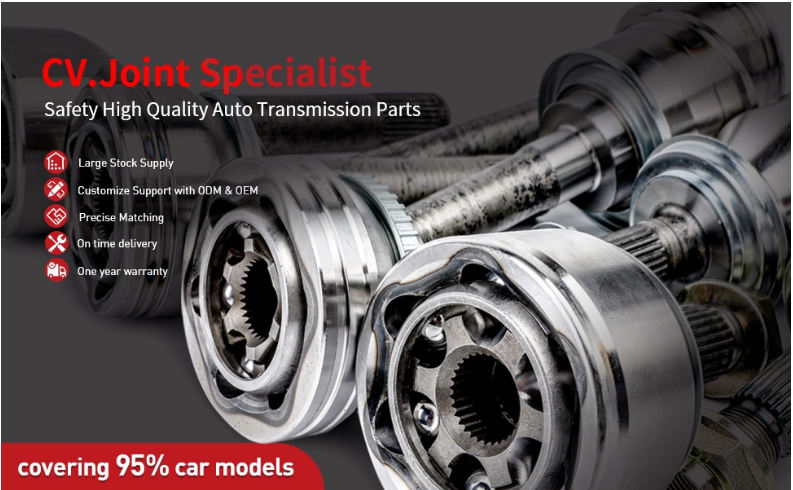
Preparation and Sourcing: Selecting the Right CV Joint
With the diagnosis confirmed, your next phase is preparation. This involves sourcing the correct replacement part and gathering all necessary tools. A successful installation depends entirely on having the right components and equipment on hand before you begin.
Compatibility Lenses
You'll face a choice between Original Equipment Manufacturer (OEM) parts and aftermarket alternatives. OEM parts are identical to what the car was built with, guaranteeing a perfect fit but often at a premium price. High-quality aftermarket parts can offer excellent value and performance, but you must verify compatibility meticulously. Always use your vehicle's Vehicle Identification Number (VIN) when ordering to ensure you get the exact part designed for your year, make, model, and drivetrain configuration.
Regional Specifications
The global nature of the auto industry means there are specific considerations for different vehicle origins. Fitment details like spline count and sensor rings can vary significantly.
CV Joint for Korean Car
When sourcing a CV Joint For Korean Car, such as for a Hyundai or Kia, pay close attention to the details. These manufacturers sometimes use different axle lengths or spline counts for the same model year depending on the transmission type (manual vs. automatic). Additionally, verify if your axle has an ABS (Anti-lock Braking System) tone ring pressed onto it. The new joint or axle must have a compatible ring for your ABS to function correctly.
CV Joint for Chinese Car
The aftermarket for vehicles from brands like Geely, Chery, or MG is rapidly expanding. For a CV Joint For Chinese Car, VIN matching is absolutely critical. Part catalogs may be less detailed than for more established brands, so double-checking specifications like axle length, spline count on both inner and outer ends, and seal surface diameter is crucial to avoid ordering the wrong component.
Required Tooling Inventory
This job requires more than a basic socket set. Having the right tools makes the process smoother and safer. Attempting to improvise can lead to damaged parts or personal injury. Here is a table of essential tools for the job.
| Tool | Purpose & Specification |
|---|---|
| Heavy-Duty Jack & Jack Stands | For safely lifting and securing the vehicle. Never work under a car supported only by a jack. |
| Large-Diameter Axle Nut Socket | Typically 30mm, 32mm, or 36mm. This nut is under very high torque and requires a 6-point impact socket and a long breaker bar. |
| Torque Wrench | Essential for the final, critical step. Must be capable of accurately applying 150+ ft-lbs (200+ Nm) of torque. |
| Breaker Bar | A long (24"+) non-ratcheting bar for breaking loose the highly torqued axle nut and suspension bolts. |
| Pry Bars / Axle Popper Tool | Used to safely lever the inner CV joint out of the transmission without damaging the case or seal. |
| Ball Joint Separator | A "pickle fork" or screw-press type tool to separate the lower ball joint from the steering knuckle without damaging the boot. |
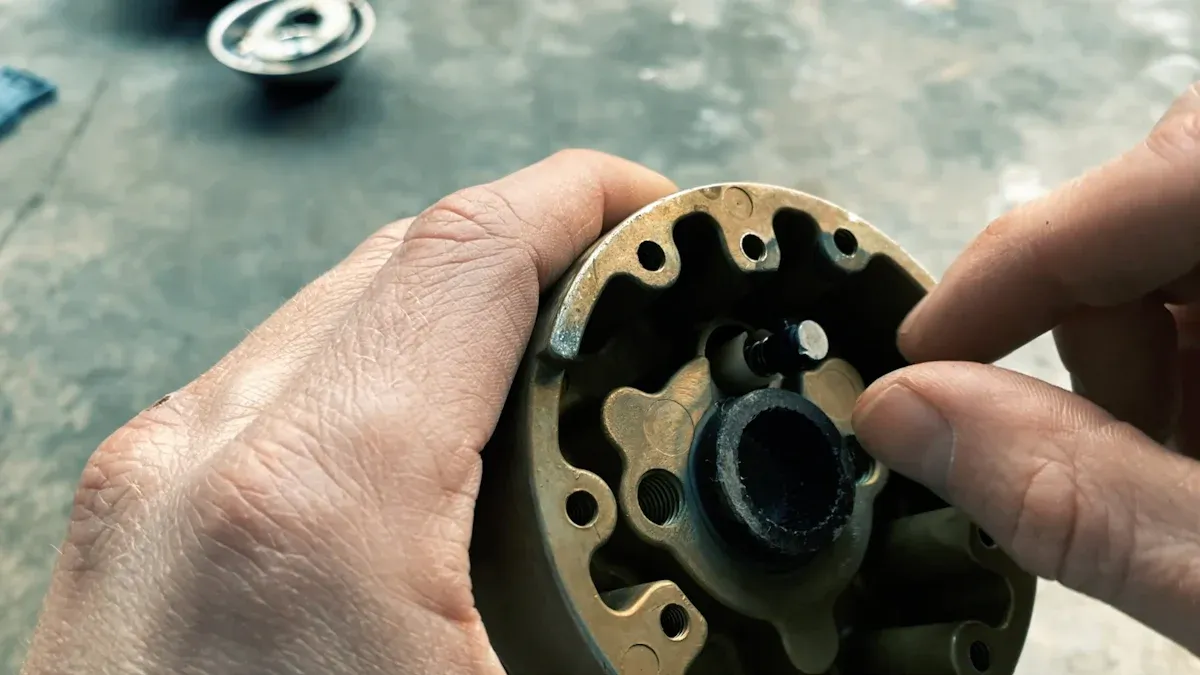
Step-by-Step Installation Procedure for Beginners
This is where preparation meets execution. Follow these steps methodically, and do not rush. Drivetrain work demands careful attention to detail.
Phase 1: Disassembly and Access
The first step is to create enough space to remove the CV axle assembly. This involves loosening key components in a specific order for safety and efficiency.
Loosen the Axle Nut: While the car is still on the ground with the parking brake engaged, use a long breaker bar and the correct axle nut socket to break the axle nut loose. Do not remove it completely, just overcome the initial high torque. Attempting this with the wheel in the air will just cause it to spin.
Lift and Secure the Vehicle: Use your jack to lift the vehicle at the manufacturer's recommended jacking point. Immediately secure it with a properly placed jack stand. Remove the wheel.
Access the Axle: Depending on your vehicle's suspension design, you will need to create clearance to pull the axle out of the wheel hub. This typically involves removing the brake caliper and bracket (hang it securely with a bungee cord or wire; never let it hang by the brake hose) and disconnecting the tie rod end or the lower ball joint from the steering knuckle. This allows you to swing the entire knuckle assembly outward.
Phase 2: Removing the Old CV Axle
With the suspension components out of the way, you can now extract the axle shaft itself.
Free the Outer Joint: Finish unscrewing the axle nut you loosened earlier. With the steering knuckle swung out, you should be able to push the threaded end of the outer CV Joint back and out of the wheel hub assembly.
Pop the Inner Joint: The inner joint is held inside the transaxle by a small spring-loaded C-clip. It needs a sharp, firm pop to release. Place a pry bar between the transmission case and the metal body of the inner joint. Give it a quick, forceful push. Avoid prying on the transmission's aluminum case or its fragile rubber seal. A specialized slide hammer with an axle popper attachment can make this much easier.
Manage Fluid Loss: Have a drain pan ready. When you remove the axle, a small amount of transmission fluid (MTF or ATF) will leak out. This is normal. You will need to top off the fluid level after the new axle is installed.
Phase 3: Installing the New CV Joint
Installing the new part is a reversal of the removal process, but with a focus on cleanliness and proper seating.
Inspect and Clean: Before inserting the new axle, wipe the transmission seal and the splines inside the wheel hub clean. Ensure no dirt or debris is present.
Seat the Inner Joint: Carefully guide the splined end of the new inner joint into the transmission. Align the splines and push it in firmly. You should feel or hear a solid "click" as the C-clip snaps into place inside the differential. Give the axle a gentle tug to confirm it's locked in and won't pull out.
Reassemble Suspension: Guide the outer joint through the wheel hub. Reconnect the lower ball joint and/or tie rod end. Torque these components to the manufacturer's specifications. Reinstall the brake caliper and bracket.
Phase 4: Final Torque and Lubrication
This final step is the most critical for safety and the longevity of your repair.
Thread the new axle nut on by hand. With the wheel reinstalled and the vehicle back on the ground, use your torque wrench to tighten the axle nut to the exact specification listed in your vehicle's service manual. This torque is very high, often over 180 ft-lbs. This specific preload is essential for the wheel bearing. Too loose, and the bearing will fail prematurely; too tight, and you can also damage the bearing and the new joint. Finally, check and top off your transmission fluid.
Implementation Risks and Troubleshooting Common Obstacles
Even with careful preparation, you can run into challenges. Knowing how to handle them is what separates a frustrating experience from a successful one.
The "Stuck Axle" Scenario
Sometimes, the outer CV joint's splines rust and seize inside the wheel hub. Brute force with a hammer can damage the threads and the bearing. The best approach is to use a generous amount of penetrating oil and let it soak. You can then use a brass drift or a specialized axle puller tool to apply force without mushrooming the end of the axle. Similarly, a rusted axle nut may require a heavy-duty impact wrench or a very long breaker bar (sometimes called a "cheater bar") to break loose.
Seal Integrity
The transmission output seal is a delicate rubber ring. When inserting the new axle, be extremely careful not to let the sharp splines drag across or nick the seal's lip. A tiny tear will result in a persistent transmission fluid leak. Some mechanics apply a thin coat of fresh transmission fluid to the seal and the axle's polished surface to help it slide in smoothly.
Grease Management
Most replacement CV axles come pre-packed with the correct amount and type of grease. However, if you are replacing just the joint onto an existing shaft, you must use the supplied packet of high-pressure grease. It's typically a dark, molybdenum disulfide formula designed to handle extreme loads. Squeeze the entire contents into the joint and boot before sealing it. Insufficient or incorrect grease will cause the new joint to fail quickly.
Alignment Realities
Anytime you disconnect major suspension components like a lower ball joint or a strut assembly, you can slightly alter the vehicle's wheel alignment settings (camber, caster, and toe). While you may not notice a dramatic difference, it's a best practice to have a professional four-wheel alignment performed after this job. This ensures your tires wear evenly and the vehicle tracks straight, protecting your investment in the new parts and your tires.
Evaluating ROI: Professional vs. DIY Installation
Deciding whether to perform this repair yourself involves weighing cost, time, and risk. A clear-eyed assessment will help you determine the best path for your situation.
Direct Cost Comparison
The primary motivator for DIY is cost savings. A professional shop will charge for the part plus several hours of labor. Labor rates can range from $100 to $200 per hour, meaning the total bill can easily exceed $500. By doing it yourself, your only major cost is the part itself and any specialized tools you need to buy. If you plan to do more work on your car, investing in a good torque wrench and axle socket is a wise financial move.
Time-to-Value
A professional technician with a lift and air tools can often complete a CV axle replacement in about an hour. For a beginner working in a driveway with hand tools, you should budget anywhere from 2 to 4 hours, assuming no major complications like seized parts. You must decide if the hours you'll spend on the project are worth the money you will save.
Warranty and Liability
When a professional shop performs the repair, their work is typically covered by a labor warranty. If the part fails prematurely due to an installation error, the shop is responsible for fixing it. When you do it yourself, you assume all the liability. If you make a mistake, such as improperly torquing the axle nut and ruining a wheel bearing, the cost of the subsequent repair is on you.
Long-term Reliability
The long-term success of the repair hinges on two factors: the quality of the part and the quality of the installation. Using premium Auto CV Joint parts and meticulously following torque specifications ensures the repair will last. A properly repaired vehicle maintains its safety and resale value. A botched job, on the other hand, can lead to cascading failures and devalue the car.
Here is a summary chart to help you decide:
| Factor | DIY Installation | Professional Installation |
|---|---|---|
| Cost | Low (Parts + one-time tool cost) | High (Parts + recurring labor cost) |
| Time | High (2-4 hours for a beginner) | Low (1-2 hours) |
| Warranty | Part warranty only; no labor guarantee | Parts and labor warranty included |
| Skill Required | Intermediate mechanical skill; high attention to detail | None required from vehicle owner |
Conclusion
Replacing a CV joint is an achievable and highly rewarding project for a home mechanic. It requires a methodical approach, a commitment to safety, and a refusal to cut corners. By carefully diagnosing the issue, sourcing the correct parts, and following a precise installation sequence, you can restore your vehicle's drivetrain to smooth and quiet operation. The key is respecting the process. Always use jack stands, clean all mating surfaces, and most importantly, use a torque wrench for all critical fasteners, especially the main axle nut. After the job is done, a low-speed test drive in a safe area, listening for any unusual noises, is the final verification. A post-drive check for any leaks around the transmission seal provides ultimate peace of mind. If you have the right tools and a patient mindset, this guide empowers you to achieve professional-level results in your own garage.
FAQ
Q: Can I drive with a clicking CV joint?
A: It is not recommended. While you might be able to drive for a short time, the clicking indicates severe wear. The joint could fail completely at any time, resulting in a loss of power to the wheel and potentially causing you to lose control of the vehicle. It is a serious safety risk that should be addressed as soon as possible.
Q: Do I need to replace both sides at once?
A: Not necessarily. CV joints wear independently. If only one side is clicking or has a torn boot, you only need to replace that side. However, if the vehicle has high mileage and one side has failed, it's often a good idea to inspect the other side carefully, as it may not be far behind.
Q: Why is the axle nut torque so high?
A: The high torque specification is critical for applying the correct amount of preload to the wheel bearing. This preload keeps the bearing's internal components tightly together, preventing play and ensuring a long service life. An under-torqued nut will lead to rapid bearing failure, while an over-torqued nut can crush the bearing, also causing it to fail.
Q: Are CV joints for Chinese and Korean cars different from domestic ones?
A: Fundamentally, they perform the same function, but the physical specifications can be very different. Variations in axle length, spline counts on both ends, and the presence or type of an ABS ring are common. It is essential to use a VIN to match the exact part, as metric sizing and design nuances mean parts are rarely interchangeable between brands.
Q: What happens if the axle isn't seated correctly in the transmission?
A: If the inner joint's C-clip does not snap into place, the axle can work its way out of the transmission while driving. This will cause a complete loss of power, just as if the axle had broken. It will also create a large opening for all the transmission fluid to leak out, which can quickly lead to severe internal transmission damage from lack of lubrication.
Etiquetas :
Publicaciones recientes

Artículos relacionados

Suscríbase para recibir
actualizaciones